Don't know where to start? Start here.
This is a work in progress. Please post topics you would like to see covered in the Comments.
| Table of Contents |
|---|
3D Printing Basics
Calibration Tools
- STL files for items you can print to test your printer
- Loads of different options for each type of test
- Available on the same sites you get your models from or Install Calibration Shapes plugin by 5axes from the Cura Marketplace or GitHub
- Use Post Processing GCode scripts to specify parameters
- Some built in to Cura
- Some added by Calibration Shapes plugin
- G-Code files from sites
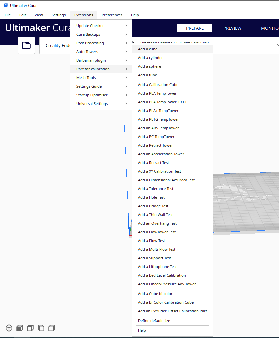
If you are using the Ultimaker Cura installed at Makersmiths the Calibration Shapes plugin by 5axes is installed.
- Extensions > Part for Calibration
Printing a Temperature Tower
Printing a temperature tower helps you find the right temperature to use for printing for a specific spool
You can use one of the temperature towers from the Part for Calibration plugin or you can find one on your favorite model site.
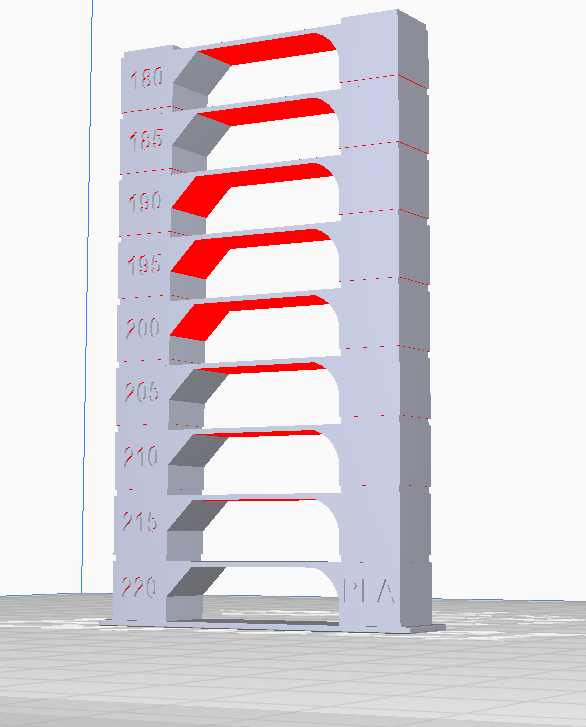
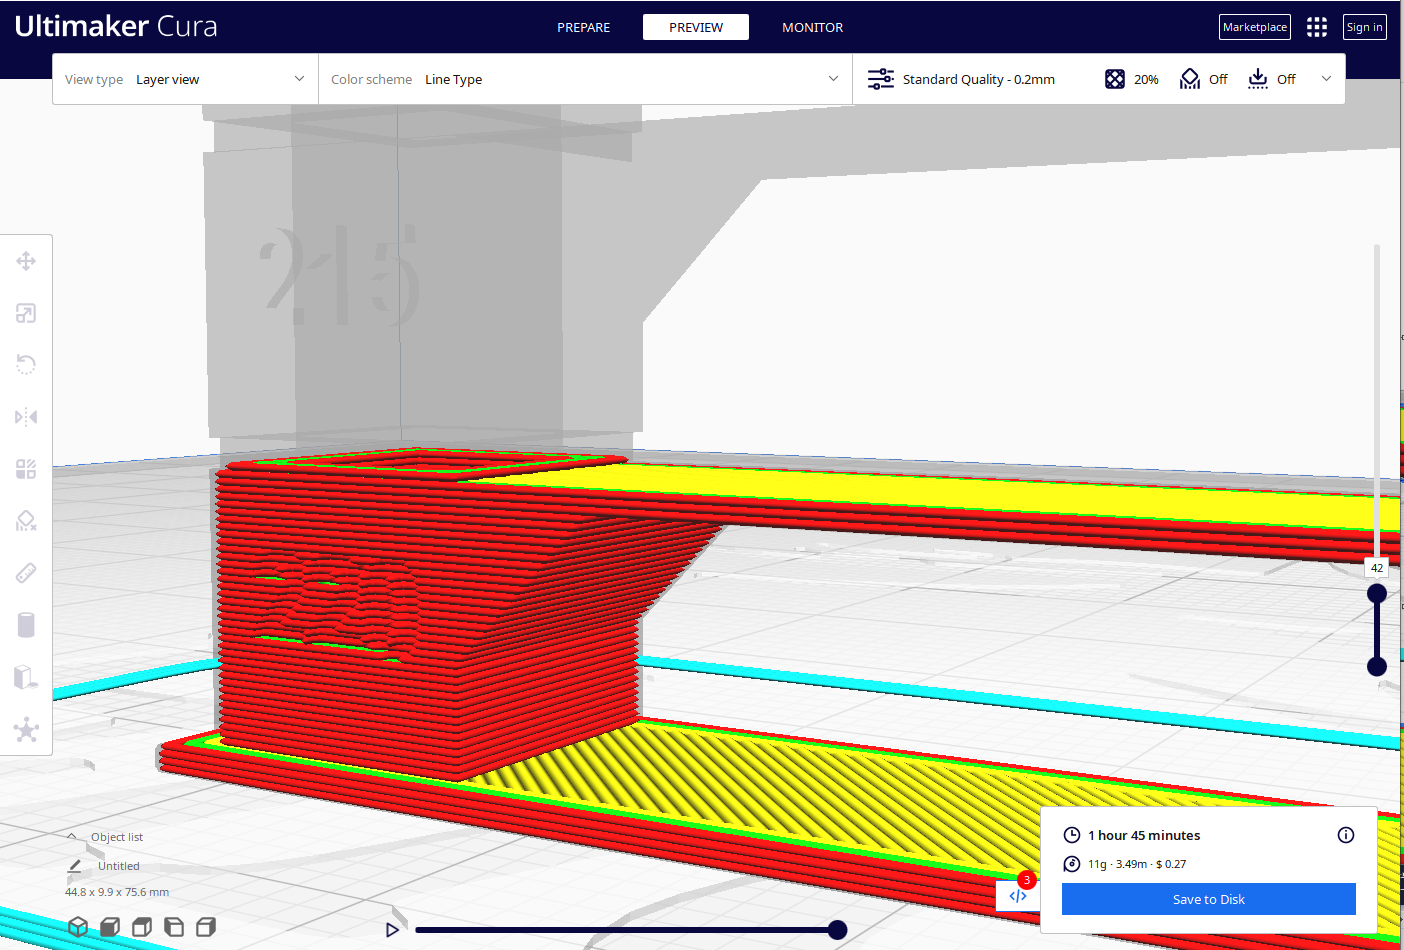
Temperature towers tend to test more than one thing, typically temperature, overhang, and bridging. In this model, you can see red under the bridges and on the overhangs. A properly tuned printer and filament should be able to handle those with no supports.
On the left side of the model you will see temperature numbers starting at 220 and decreasing by 5 on each new segment until reaching 180. This is the typical range for PLA. There are other temperature towers for other materials.
Slice your tower and go to preview mode
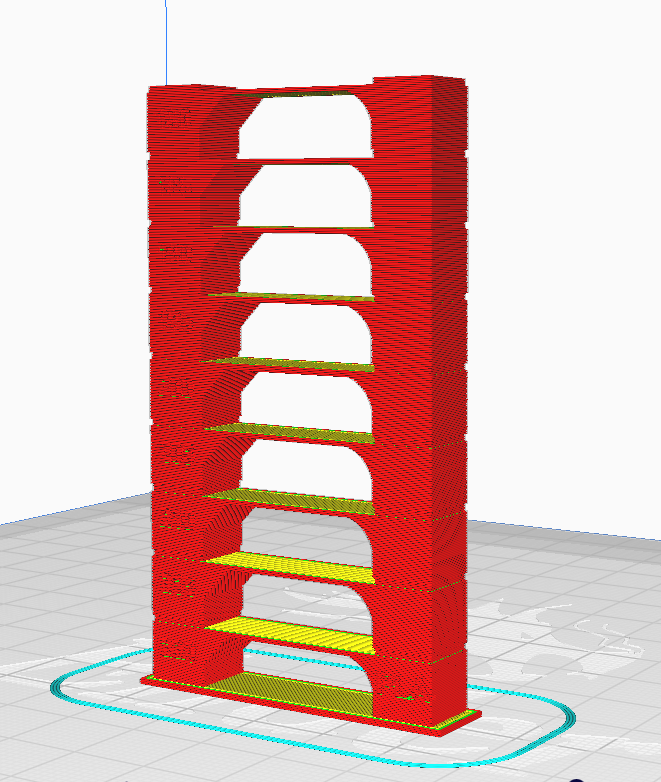
Using the slider on the right side of the screen, find the point at which the first section of the tower ends and the second section begins. Make note of the layer number
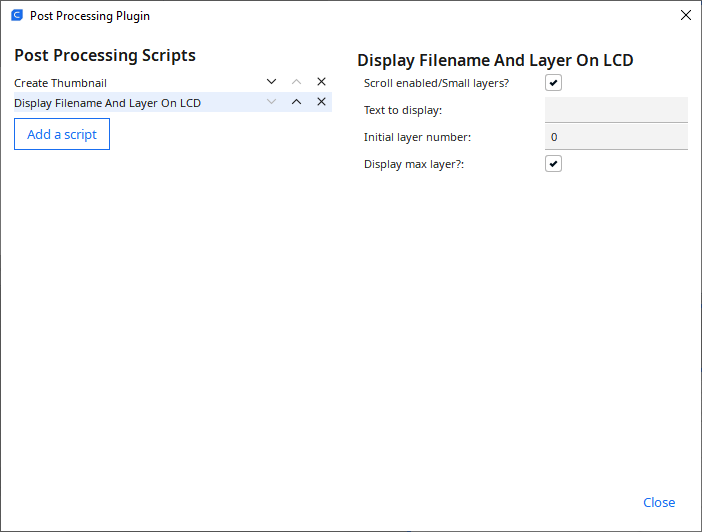
Now, select Extensions > Post Processing > Modify G-Code

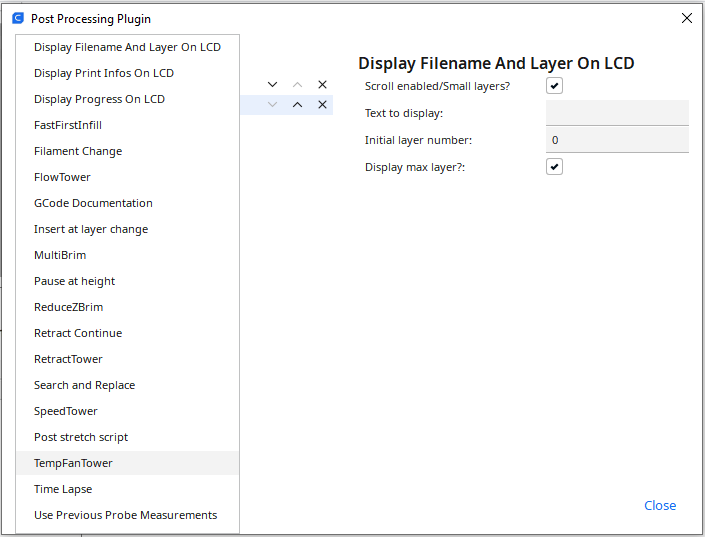
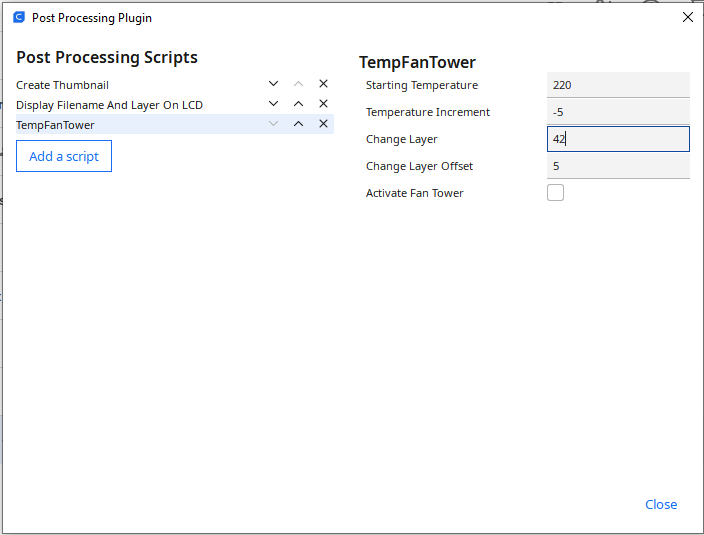
Click "Add a script" and select "TempFanTower"
In the "Change Layer" box type in the level you found for the change.
Starting Temperature - What temperature to start the process at (your first section)
Temperature Increment - How much to change the temperature with each iteration. Number can be positive or negative
Change Layer - How many layers to remain at that temperature before changing
Change Layer Offset - This defines the base of your print. For this number of layers, the print will be at the temperature defined in the print settings under Material.
Activate Fan Tower - This is for testing the effect of different fan speeds. Do not check this box for a normal temperature tower test
Click Close when finished
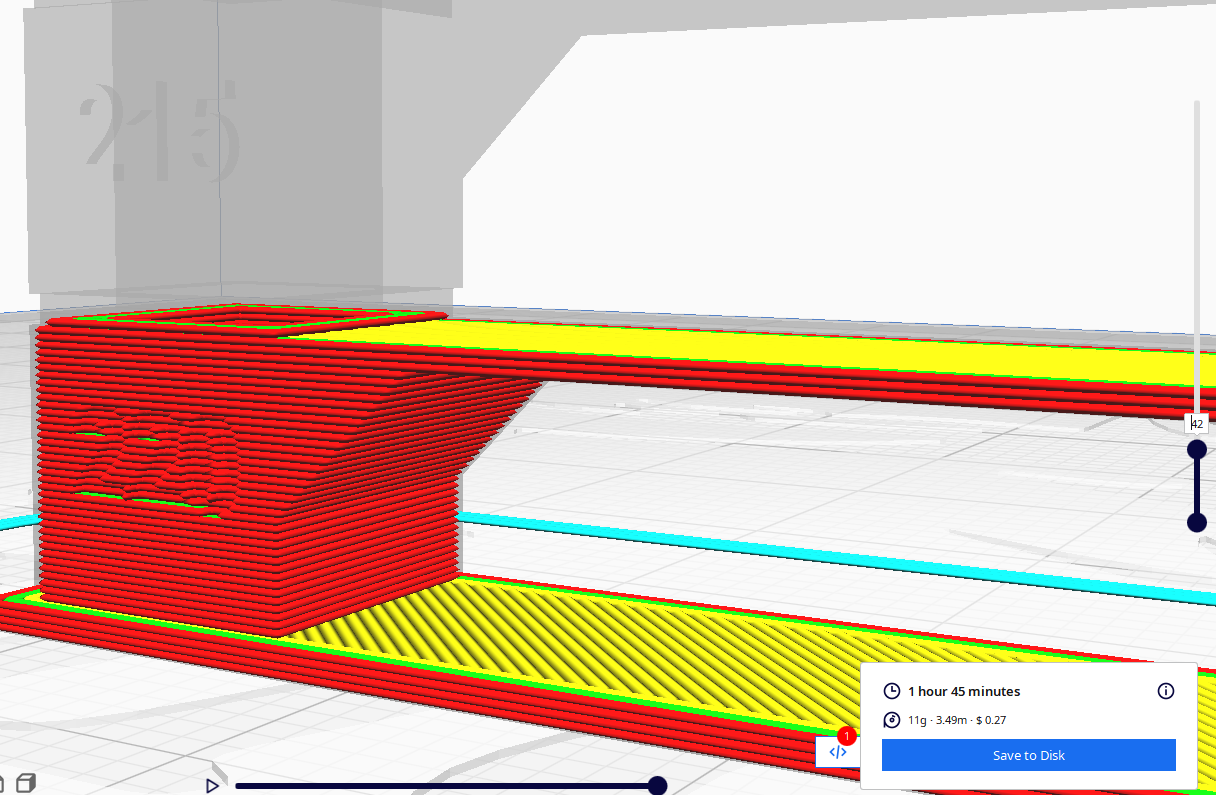
Reslice your model to incorporate the script into the G-code.
Save your code to a file and then print on your chosen printer.
After you save your G-Code file, go back to the Extensions > Post Processing > Modify G-Code menu and delete the TempFanTower script.
Leave the Create Thumbnail and Display Layer scripts
How to read your temperature tower
Coming soon
Printing a Calibration Cube
Calibration cubes are used to help fine tune the motors for the X, Y, & Z axes to deliver accurate and precise prints.
You can use the Calibration Cube from the Part for Calibration plugin or you can find one on your favorite model site.