...
This is a work in progress. Please post topics you would like to see covered in the Comments.
3D Printing Basics
Materials
Adhesion
Bed adhesion is key to 3D printing. Very simply, if your print doesn't stick then your print will not be successful. If your print sticks too well you can destroy your print or your printer trying to get it loose.
The optimal printing surface (for PLA, PETG, and ABS) is glass. Period.
Printers
Leveling Sensors
Having (re)built a Prusa i3 from a kit, I realized some important lessons that anyone who started with a retail printer will have missed.
My i3 came to me with an 18mm inductive bed sensor. It did a capable job of detecting the circuit board heated bed. But I noticed that sometimes it could go out of adjustment by a pretty significant amount for no apparent reason.
So I added bed adjustment thumbwheels. They seemed like a good idea, but as they say, with a bed leveling sensor these are as useless as tits on a bull. Bed leveling adjusters give you the ability to make your bed perfectly parallel with the X-axis rods, and this is useful. However, you adjust this once and should never have to touch it again. Shims are a better approach. Using these adjusters to adjust the nozzle clearance is completely pointless, as the inductive sensor does that. Move the bed up and the sensor moves the nozzle. Worse than being useless, my setup cost me over 20mm of Z-axis height. I removed them.
Now back to running just the inductive sensor, and having upgraded to a beefier aluminum plate for the y-carriage, I experimented with a 12mm inductive sensor so I could reduce the footprint of my print head. Even the best 12mm inductive sensor has a 4mm sensor distance for steel. Aluminum reduces that distance by more than 50%. My glass bed surface is 3mm. The 12mm would hit the glass before it detected the plate.
So, back to the 18mm inductive sensor, and all is working well...until it isn't. After a 12 hour print I started a new print. The sensor was suddenly off by at last 1/4 of a mm for no clear reason. After over an hour of fiddling with it I discovered the reason (and recall reading about this): the temperature of the probe/bed affects the detection distance. When I adjusted the nozzle clearance on a cold bed the clearance on a hot bed was too high (cold requires closer detection distance). When I adjusted it hot the nozzle would hit the glass on cold detection. Worse, if I didn't preheat the bed for at least 10 minutes the detection distance was unreliable, and even worse yet, could be different across the three detection points my printer uses.
My next "upgrade" is completely counter-intuitive: I am removing my inductive bed sensor and throwing out the entire idea of automatic bed leveling in favor of the three-point manual leveling used by printers like the FlashForge Creator 3D and Monoprice Select. I intend to install a z-min stop switch on an adjustable mechanism that will allow adjustment of the switch to set the bed height. The bed itself will be leveled manually using a digital caliper to ensure that it is parallel to the X-axis, and shims to adjust it to be level on the y-axis. X-axis adjustment should be done before each print (very easy - simply turn a z-axis lead one way or the other until the sides are equal). Y-axis adjustment should only be needed once.
Calibration Tools
- STL files for items you can print to test your printer
- Loads of different options for each type of test
- Available on the same sites you get your models from or Install Calibration Shapes plugin by 5axes from the Cura Marketplace or GitHub
- Use Post Processing GCode scripts to specify parameters
- Some built in to Cura
- Some added by Calibration Shapes plugin
- G-Code files from sites
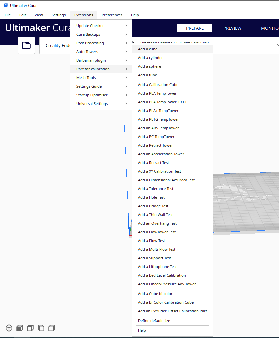
If you are using the Ultimaker Cura installed at Makersmiths the Calibration Shapes plugin by 5axes is installed.
- Extensions > Part for Calibration
Printing a Temperature Tower
Printing a temperature tower helps you find the right temperature to use for printing for a specific spool
You can use one of the temperature towers from the Part for Calibration plugin or you can find one on your favorite model site.
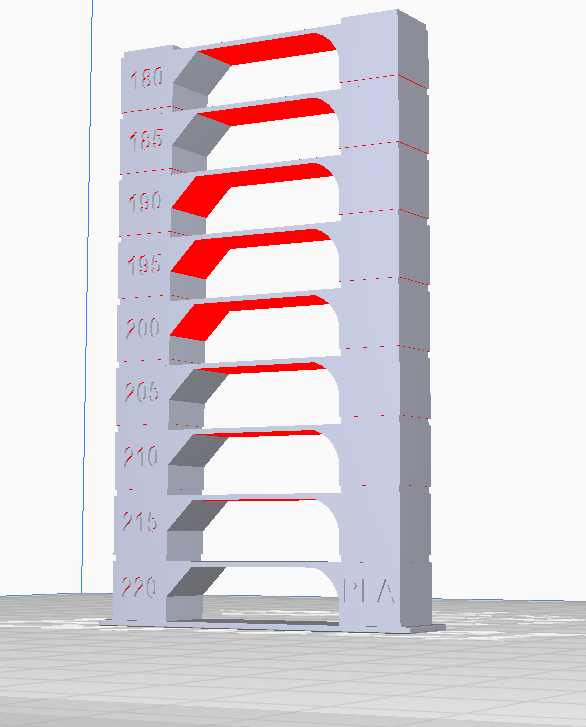
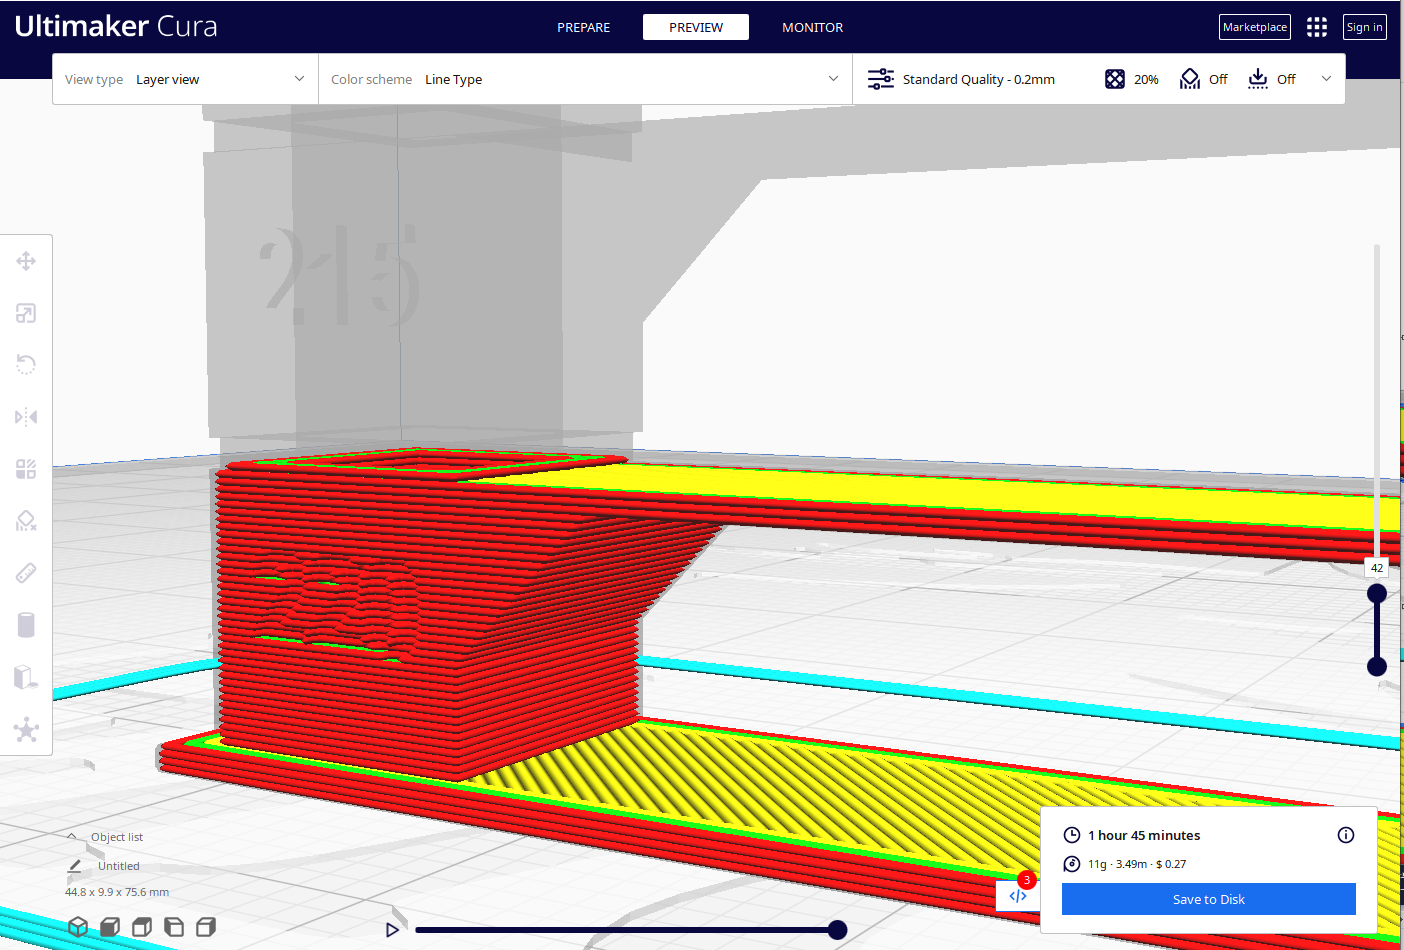
Temperature towers tend to test more than one thing, typically temperature, overhang, and bridging. In this model, you can see red under the bridges and on the overhangs. A properly tuned printer and filament should be able to handle those with no supports.
On the left side of the model you will see temperature numbers starting at 220 and decreasing by 5 on each new segment until reaching 180. This is the typical range for PLA. There are other temperature towers for other materials.
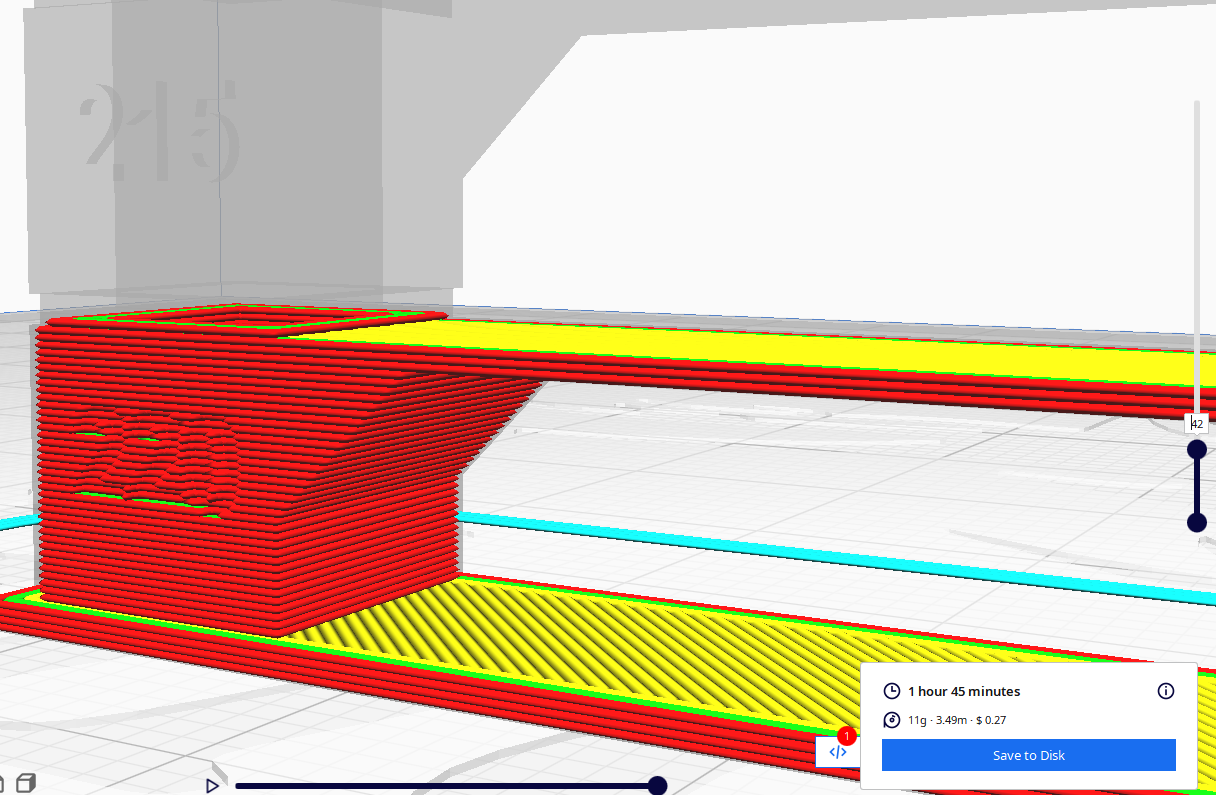
Slice your tower and go to preview mode
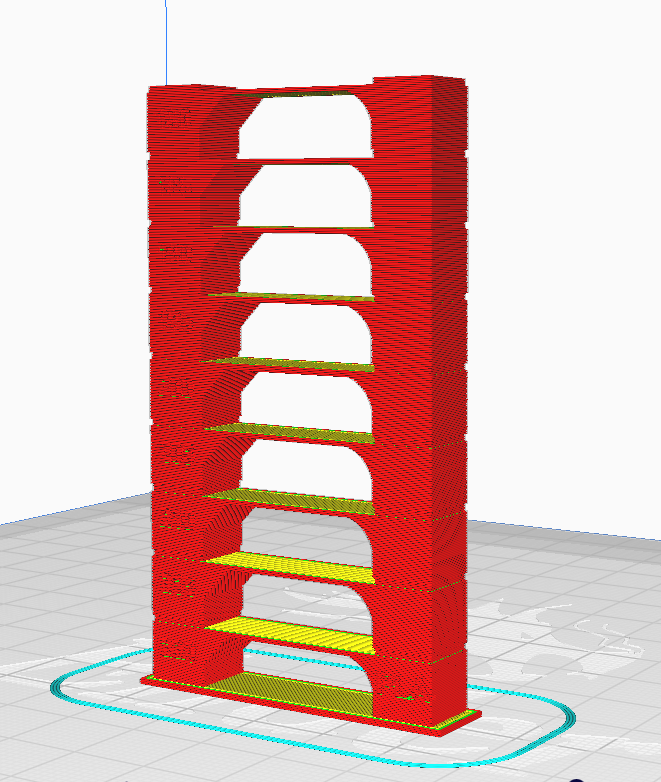
Using the slider on the right side of the screen, find the point at which the first section of the tower ends and the second section begins. Make note of the layer number
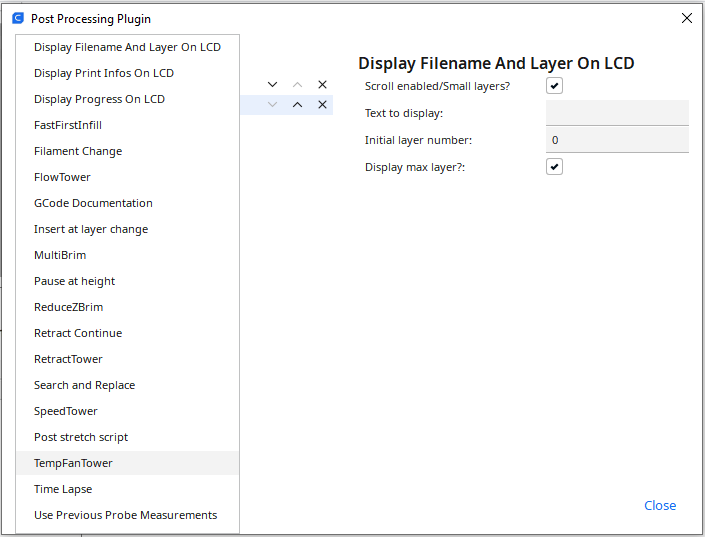
Now, select Extensions > Post Processing > Modify G-Code

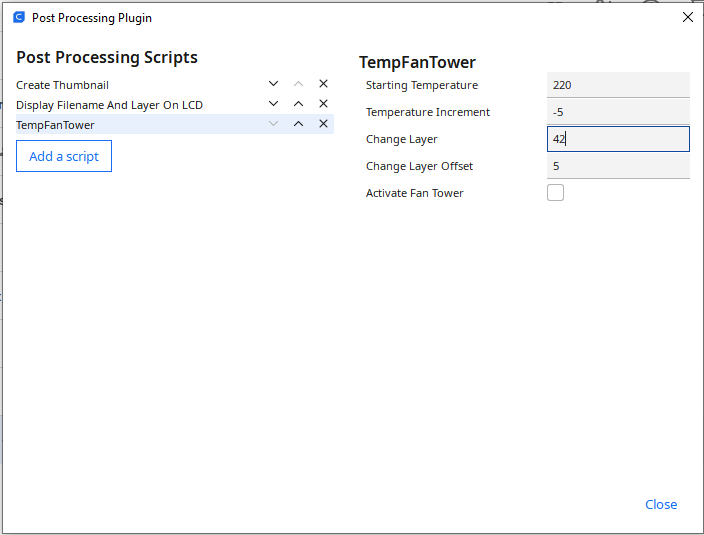
Click "Add a script" and select "TempFanTower"
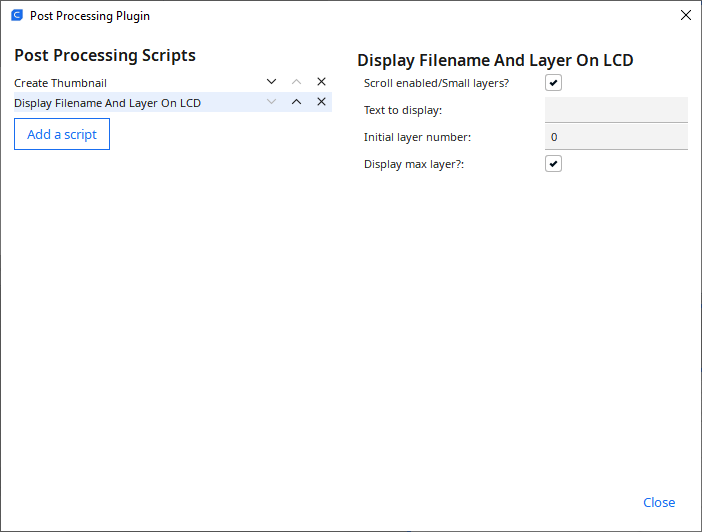
In the "Change Layer" box type in the level you found for the change.
Starting Temperature - What temperature to start the process at (your first section)
Temperature Increment - How much to change the temperature with each iteration. Number can be positive or negative
Change Layer - How many layers to remain at that temperature before changing
Change Layer Offset - This defines the base of your print. For this number of layers, the print will be at the temperature defined in the print settings under Material.
Activate Fan Tower - This is for testing the effect of different fan speeds. Do not check this box for a normal temperature tower test
Click Close when finished
Reslice your model to incorporate the script into the G-code.
Save your code to a file and then print on your chosen printer.
Materials
Adhesion
Printers
Leveling Sensors
...