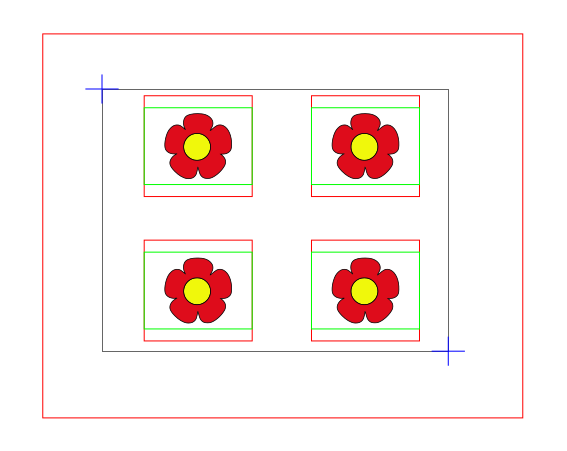
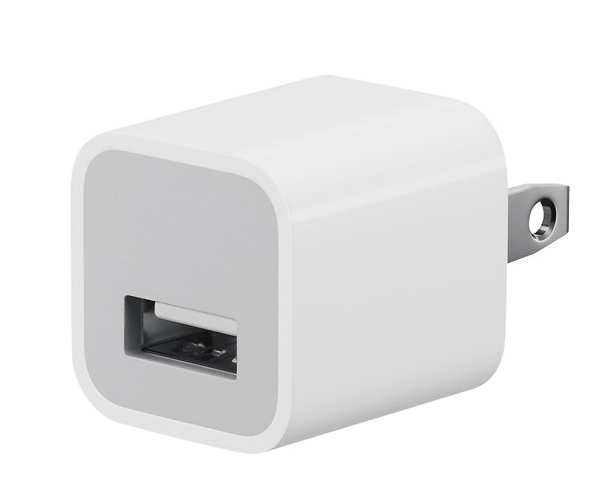
The above example is a jig for printing on the small USB charging adapters that come with iPhones but that can also be used for other UV printer projects where you are printing on an existing object, but want to do multiple at one time.
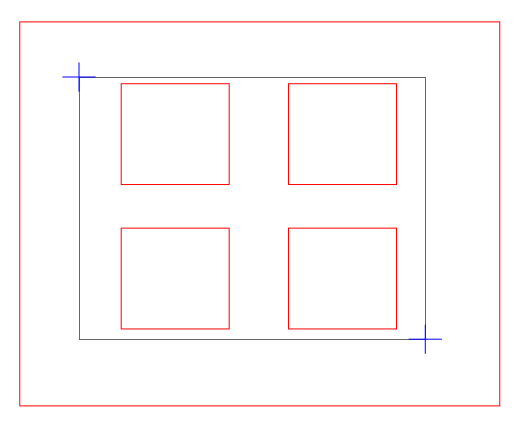
The large red rectangle outlines the overall size of the jig and the smaller red rectangles are the cutouts to fit the charging adapter into. The blue lines are crosses used to engrave reference marks using the laser. The black lines are NOT laser raster lines in this example, they are the outside outline of the art canvas/document in Inkscape and are not visible upon saving the document. The green rectangles are purely for layout purposes because the charging adapters have fileted edges and are setup so that the print stays on the flat part of the charger.
To create the jig, you create three layers in your art file. The first includes the red and blue strokes like this.
Again, the black lines in the image above are the outlines of the edges of the art canvas/document and are not part of the final file you will see when you 'print' it to the lasercutter.
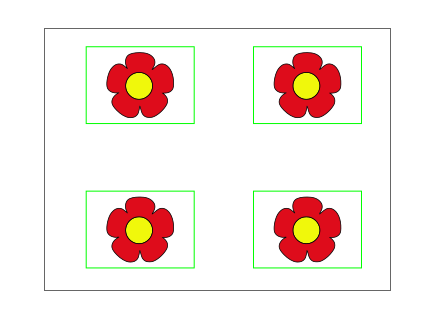
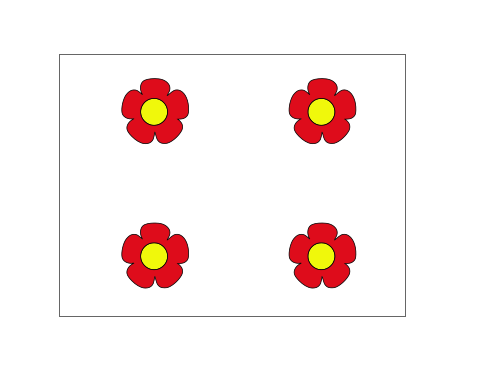
Once you've cut your jig, you now have a jig that's larger than the area you intend to print on the UV Printer. The next image shows the jig layer turned off, and the art you want to print, the green layout lines, and the black art canvas/document line.
Once you are happy that your art is lined up correctly to the green layout lines, you can turn off the layer that contains the green lines.
Now you can save the art layer only as a PDF document and open it in Versaworks. When lining up your jig to the printer, you setup the machine so that 0,0 is on the lower right engraved cross on your jig, and that the size of your piece is lined up the upper left (or a little bit wider in both x and y) than your jig. This way you can put your jig anywhere on the bed for printing.
