...
Changing the paper can be finicky and take more than one try.
To remove the existing paper roll:
- Lift the blue lever on the top left (facing) the machine. This releases the paper.
- From the back of the machine, roll the paper back until it is removed from the feed slot. The plotter will then recognize that it doesn't have paper.
- You can then lift the roll and bar, starting with the right side, followed by the left side.
- Pull the blue plastic endcap off the paper roll.
- Remove the paper roll from the feed bar.
Loading a new roll:
- Put the new paper roll onto the bar.
- Push the blue plastic endcap on to the end of the bar so that it slots inside of the paper roll.
- Most rolls have a 2" core. If you are using a 3" core paper, there are adapters near the ink on the left side (facing front) of the plotter.
- Place the left side of the bar into the back of the plotter, followed by the right side (facing the back of the printer).
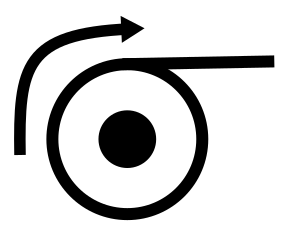
- The paper should be setup so that the paper is exposed at the top of the roll - side view:
- Feed the paper into the back of the printer slowly. The printer will grab the paper and a dialogue will start on the LCD screen on the front of the unit.
- Once the paper loads, it will confirm the paper type. If you have put in a different type, make sure to select that paper from the list. It makes a big difference in performance and smearing of your print.
...