OctoPrint is NOW running on all three Ender printers.
http://Ender3v2-001 - or http://10.1.1.121
http://Ender3v2-002 - or http://10.1.1.122
http://Ender3v2-003 - or http://10.1.1.123
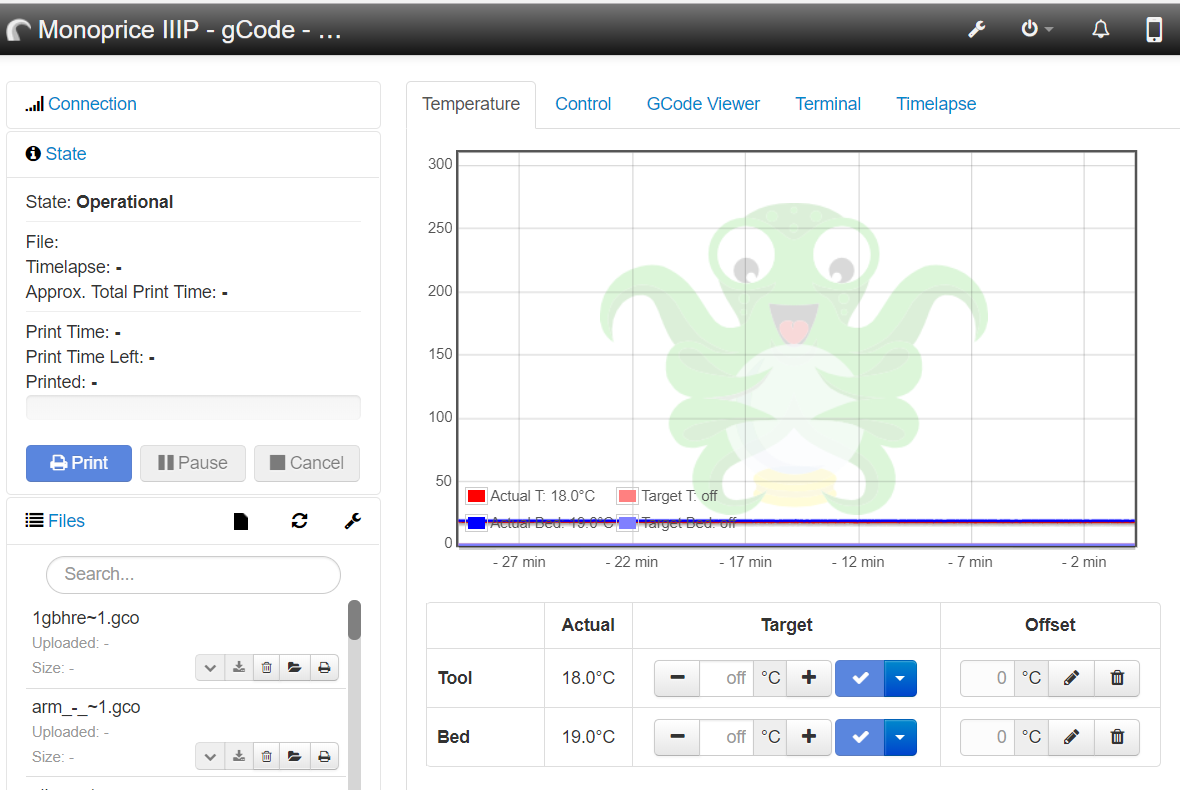
The OctoPrint server gives you a way to upload a print file and see the status of your print job. Below is the screen from one of our printers.
| - The main screen shows the printer connection and the temperature.
- Unfortunately you have to scroll all the way down to the bottom before you will see the dialog to upload a file.
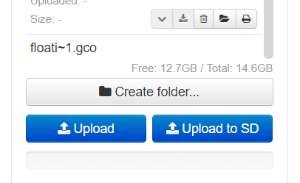
- Either upload is OK, but let's use the Local because it seems to provide better performance.
- Click on upload, select you code file (type of file depends on the printer. Check the printer for the correct type of file)
- Once it is uploaded, you can look in the list and find your file. You can type part of the name in the search box to find it faster.
- Now next to the file name you will see some icons. For right now we are only concerned about the far right which is the print icon. Click it and you will start to get started printing.
- Now here is where your patience is tested. In order to start printing, the printhead and the heated bed of the printer need to warm up. This can take a few minutes. On the bright side for those Type A people, there is a nice little graph that will show you the target temperature and the actual temperature.
|
|---|
Once the printhead starts moving, the biggest button you are concerned about it the Cancel button. If something goes horribly wrong. Hit that and then click yes and the printer will stop, move the head out of the way, and you can go in and fix what ever went wrong.
This is the basics for OctoPrint.